Deciding on Functional Gaging
Nov 3, 2020
Functional Gages can often seem like an unnecessary additional cost with all of the available measuring solutions, but there are many reasons to invest in custom gages for your parts.
Top 3 Reasons to Invest in Custom Inspection Gages
- Custom gages reduce in-process quality control costs while still maintaining quality requirements. Cost reduction is achieved by having operators trained to perform in-process inspection directly at the machine or press streamlining the inspection process efficiently.
- Gages help reduce bottle necks at your CMM, comparators, and vision systems equipment.
- Gages bring Repeatability and Reproducibility into your inspection plan by ensuring everyone is checking consistently for the same potential issues to make sure the parts will fit and function properly in assembly.

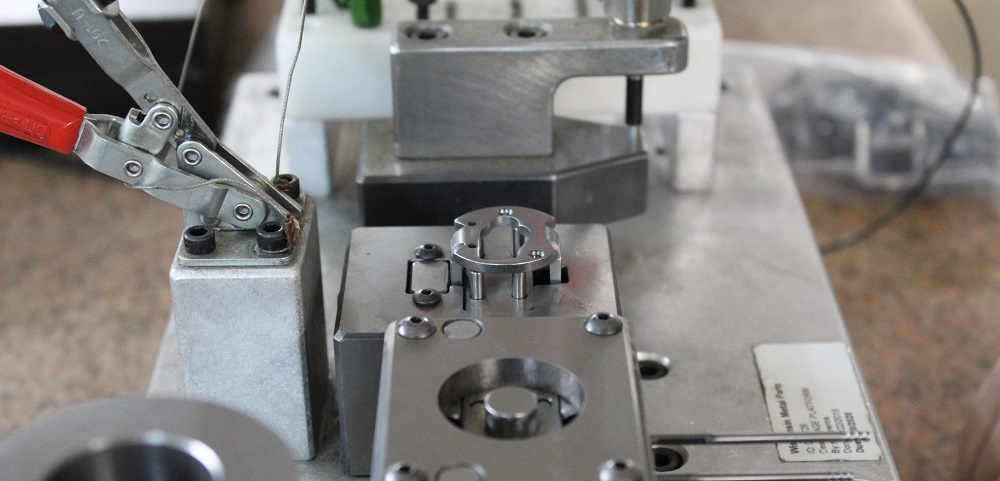
The ideal situation is to determine whether your part needs an inspection gage before production starts. You should consider how long the standard inspection process will take. That process can eat up more of your time than you think, and that is where inspection gages are advantageous. For example, placing a part on a functional gage can easily pick up your datums and verify Profiles and True Positions in a matter of seconds. The same measurements on the CMM can take minutes to complete. This is very desirable with tightened AQL levels. Starting early will save costs and lead to a more efficient gage build. It can also allow the build to be cheaper in the fact that you can avoid having to re-do aspects of the gage that may not work if it is developed later on. Many customers request 2-3 sets of gages: one set for use at the machine, another set for the inspection department and a third set for their customer.
Wisconsin Metal Parts, Inc. works to build strong, long-term relationships with our customers, so we closely understand how a gage will be used in its manufacturing environment. We know the value of gages and we use them in our production departments. Our gage makers design and build inspection gages in-house, and our design and engineering team utilizes Solidworks to meet your print specifications in compliance with your inspection requirements. We build gages to verify parts with attribute (Go/NoGo) verifications, Profiles, True Positions, assembly simulations and also fixtures for holding parts on your CMM. Has your part gone through a revision change? No problem! WMPI will revise your gage accordingly to engineering change requirements. Our quality department can calibrate and certify your gage to NIST traceable standards before you start using it.
To learn more about our efficient, design-build-review and gage qualification process, contact us today!


